- The company file needs to be opened in QuickBooks in single-user mode.
- The company file user logged in needs to be the admin user (or super-admin for some company files). To LetSync Desktop to connect to the company file can be through the admin or full control QuickBooks user but admin user is the only one that can authorize it.
- QuickBooks and LetSync Desktop need to be running at administrator privilege level on Windows.
- You can configure unlimited company files to LetSync Desk
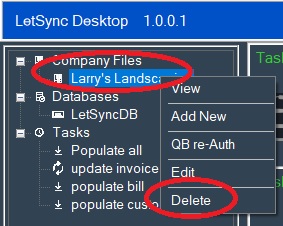
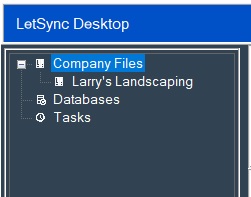
Right Click on company file that you want to see then View:
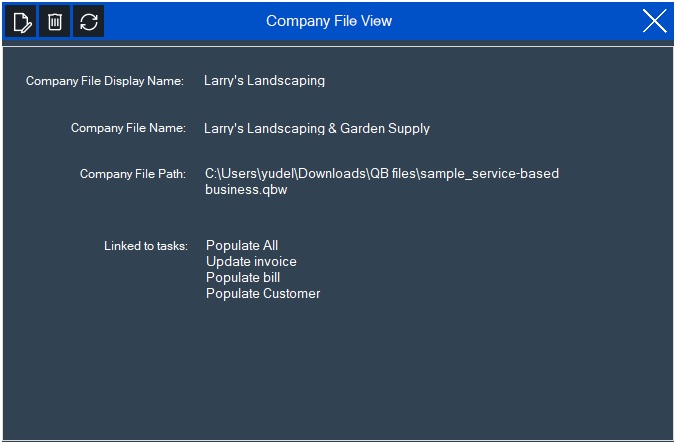
This windows will tell you all the information of the company file. Also, it tells you to which task the company file is linked to it.
This windows has three button on the top left side that will shortcut to Edit, Delete, and re-Auth functions.
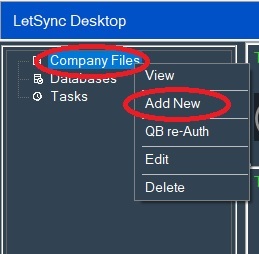
Right Click on Company Files label then Add New:
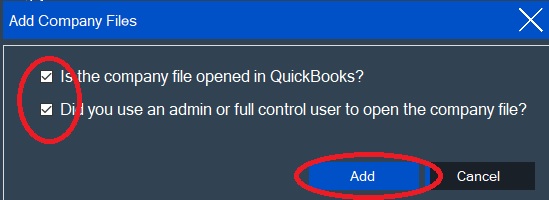
Another windows will pop up to let you know what you need to give LetSync Desktop access to your company file. Just check the boxes and click Add:
Check on your Taskbar QuickBooks icon will start blinking, click on it and another windows will pop up:
- Select the las option: “Yes, always; allow access even if QuickBooks is not running”.
- If the company file has user. Select the user that you want to LetSync Desktop to sync with (this user cannot be connect at the same time from another computer because LetSync Desktop sync will fail to connect to the company file). This user needs to be admin or full control one.
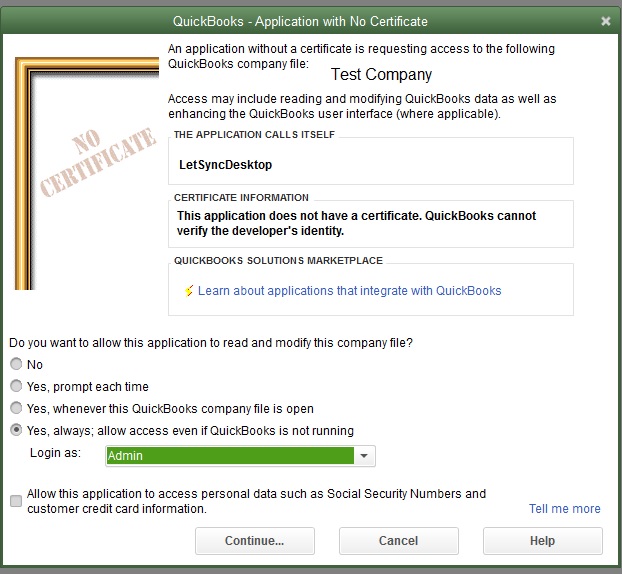
Click on Continue-Yes-Done until the next LetSync Desktop windows shows with your company name:

This windows will print your company name as it is named in QuickBooks. You can change this for any name that you want because this only for LetSync Desktop to display on its interface. This change won’t affect your company name on QuickBooks because LetSync Desktop will user your company file location path to connect to it. Click on Set to finally configure the company file in LetSync Desktop:
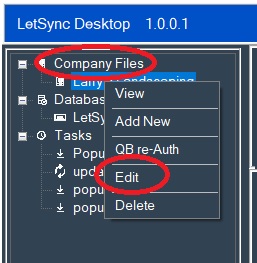
Right Click on the company file that you want to edit then Edit:
Edit windows will pop up to let you Edit the company file display name. Company file name and path can’t be changed from LetSync Desktop. You only will be able to change the company file display name in order for you to localized and sorted better on the integration process:
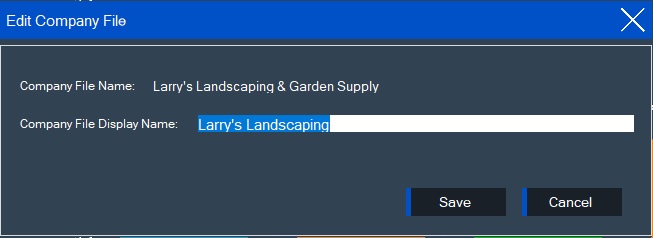
After selecting a display name for your company file you can click on the Save button to keep the change, or just click the Cancel or close button to disregards the changes.
Re-Authorizing the company file is for in case that LetSync loses its authorization to connect to QuickBooks API. You can actualize do the process without having to delete the company file from LetSync Desktop and re-add the company file. This will be really difficult because when the company file is linked to a task cannot be removed until the task is deleted
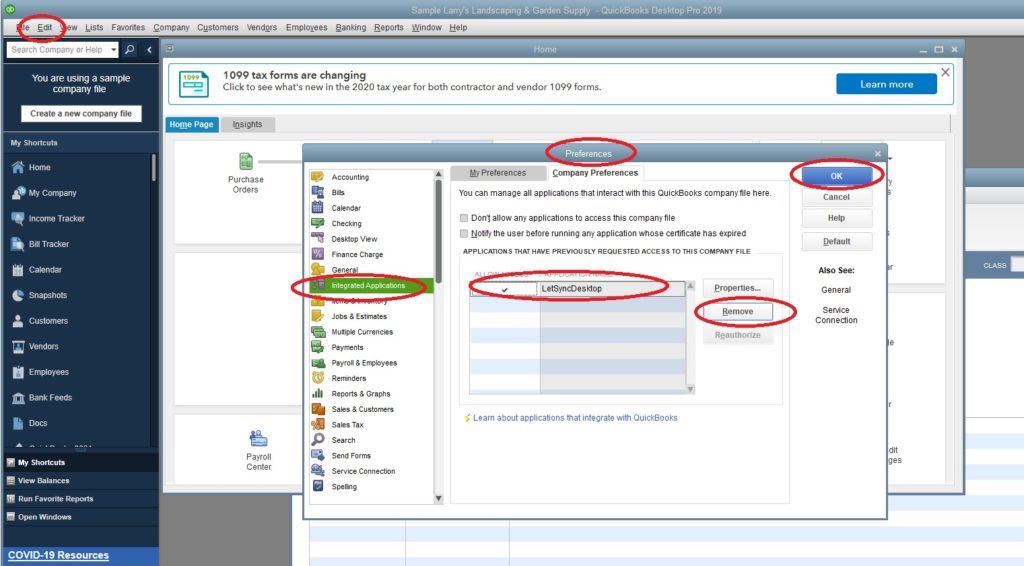
Before this process make sure that the company files are opened with the user account that you want to use for LetSync Desktop to connect to it, and you have already removed LetSync Desktop from the integrated application as shown below:
Right Click on Company Files label then click on QB re-Auth:

Delete a company file means that the company file will be remove from LetSync configuration. It won’t be deleted from the fiscal location where the company file is located. You can always re add the company file back to LetSync Desktop. If you haven’t remove LetSync Desktop from integrated application, there will be no need of re-authorization.
If the company file is linked to any task. LetSync Desktop won’t allow you to delete the company file until either you delete the task or change the company file within the task to another company file.
Right Click on company file that you want to delete then Delete: